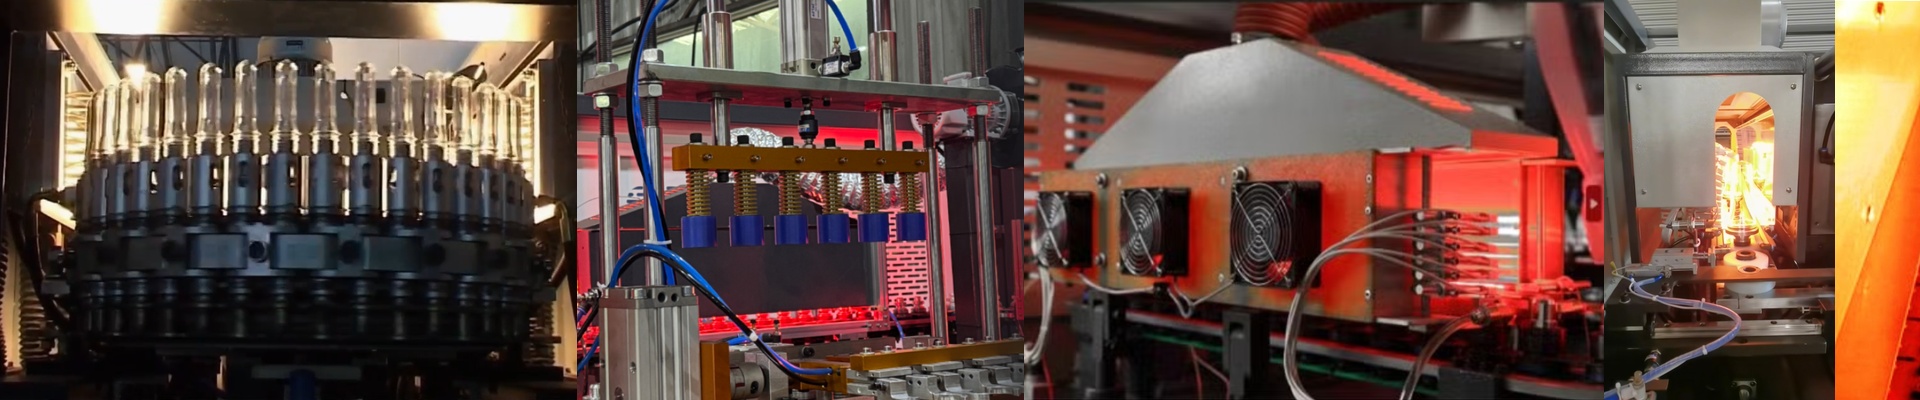
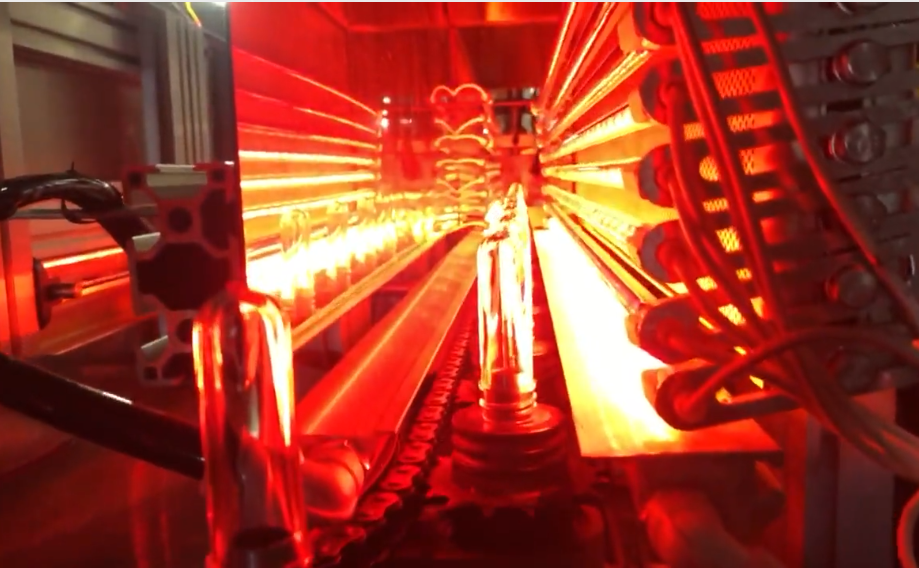
Out on the floor, an Urola blow molder lives and dies on repeatability. If preform heating starts drifting, you’ll see brittle necks, blown seams, and a growing stack of scrap. Generic heaters tend to chase setpoints. We built this Urola heater to lock in the same thermal profile, cycle after cycle. What matters under the hood We match the OEM heating architecture with short-wave infrared quartz emitters, tuned for fast response and tight temperature control across the heating tunnel. The specs are engineered for Urola machines: standard voltage options, emitter lengths cut to fit, and R7s connectors so you can swap lamps without rewiring. The payoff is predictable absorption in the PET wall, consistent stretch, and repeatable bottle geometry. Why it holds up on an Urola This isn’t a one-size-fits-all part. It’s aligned to the Urola heating zone layout and power budget, so you spend less time chasing setpoints and more time running jobs. You’ll get a shorter warm-up, stable output, and fewer line stops for lamp changes. In practice, that means fewer thickness swings, lower scrap, and more consistent output from the same blow molder. The shop-floor details Installation is straightforward on Urola machines, but the heating window is sensitive. Use a calibrated pyrometer to map the tunnel and confirm each zone’s setpoint before you go full production. Keep reflectors clean and check emitter alignment—mis-seated lamps can create hot and cold bands. Plan replacements around preventive maintenance windows to avoid unplanned downtime.